Hi lovelies,
In theory, late August is perfect for picnics and eating al fresco! Of course, you can’t guarantee that it’ll be dry, let alone warm in the UK, but it’s nice to dream!
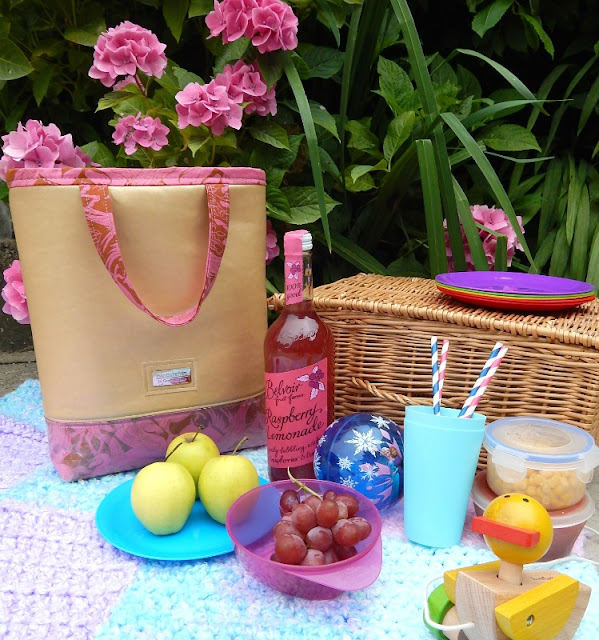
I’ve got a super simple summer tote tutorial for you today, just in case it is nice and you want to take your lunch outside!
 |
| Guess the age of my lunch companion… |
I’ve used faux leather and quilting cotton. I used Lamifix to laminate some of the cotton for the base. I’ve used headliner as a stabiliser on the outer pieces, and F220 (medium weight interfacing) on the lining pieces and handles.
Here’s what you’ll need to cut if you’d like to make your own!
Cut 2 of each
Outer Top – 14″W x 10 5/8″H
Outer Bottom – 14″W x 5 3/8″H
Or if you don’t want a contrast base, then one piece 14″W x 15 1/4″H
Lining – 14″W x 16″H
Handles – 4″W x 15″H
Optional – Label background – Cut 1 of 2 3/8″W x 1 1/2″H
Let’s start sewing!
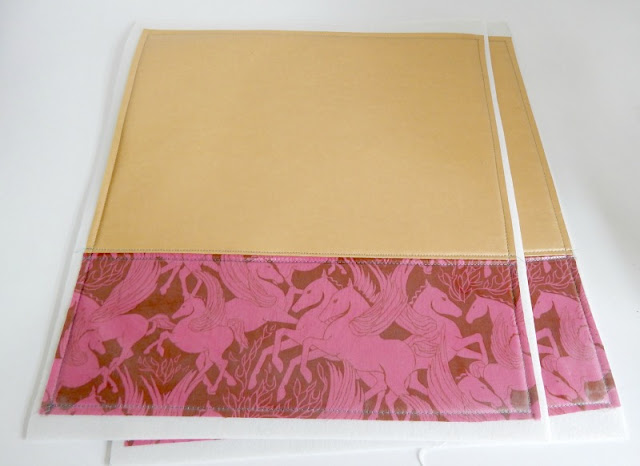
First of all, clip, then sew the outer bottom to the outer top, using a 3/8″ seam allowance. If you’re using a directional print like me, the print on the wrong side will need to be upside down, so that when you’ve sewn it, it’s right way up.
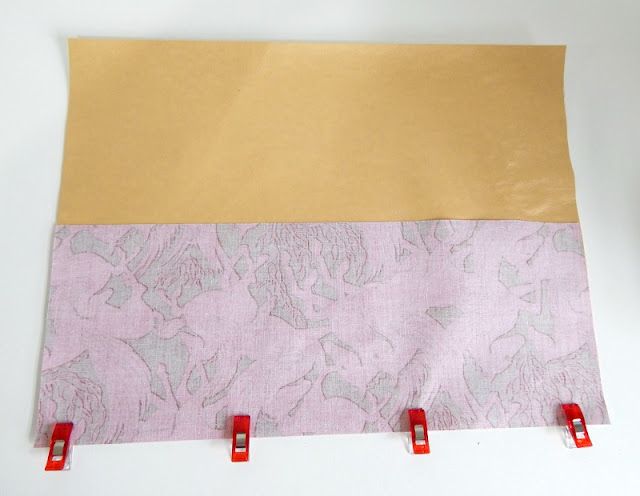
Open the seam, using your fingers, and then pop a pressing cloth over the top, and press with an iron for a nice crisp open seam.
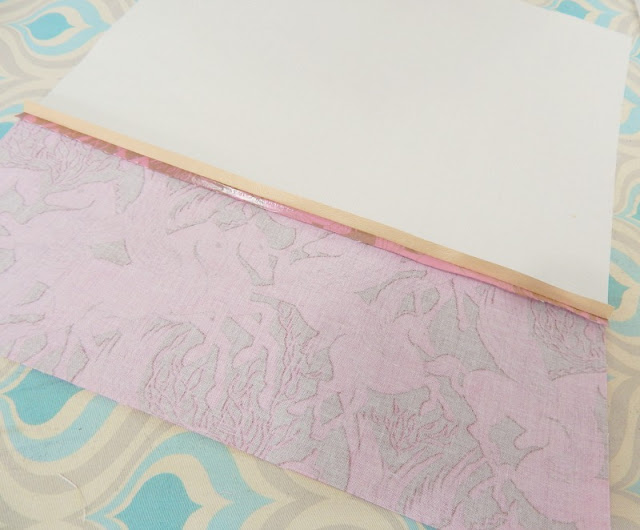
I used headliner for my tote, because I wanted it to be really sturdy, and have a little bit of cushioning. Cut the headliner slightly bigger, then place the outer panels face up, on top, smoothing them out. You can also use a little wonder tape on the wrong side of the panels to keep them in place.
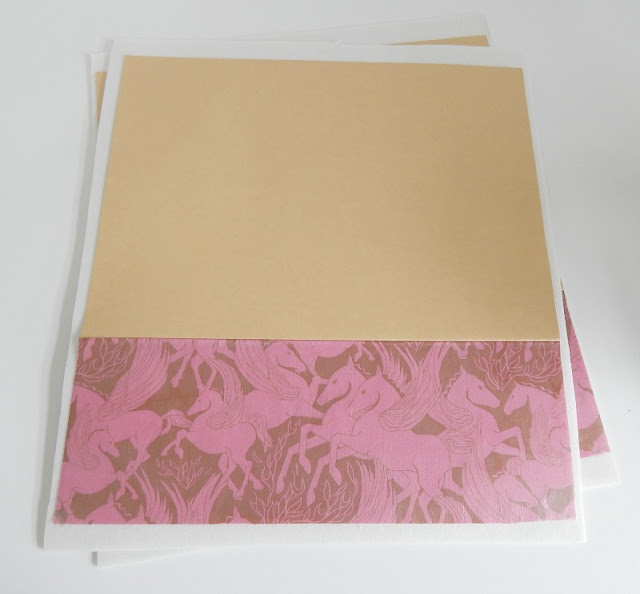
Sew around the outside, using a seam allowance or 1/4″. This is 1/8″ smaller than we’ll use to sew the bag together later.
I also sewed either side of the join to make it a bit more of a feature.
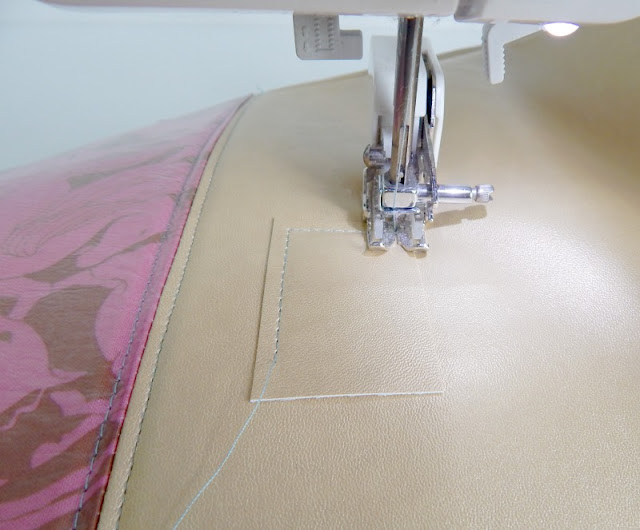
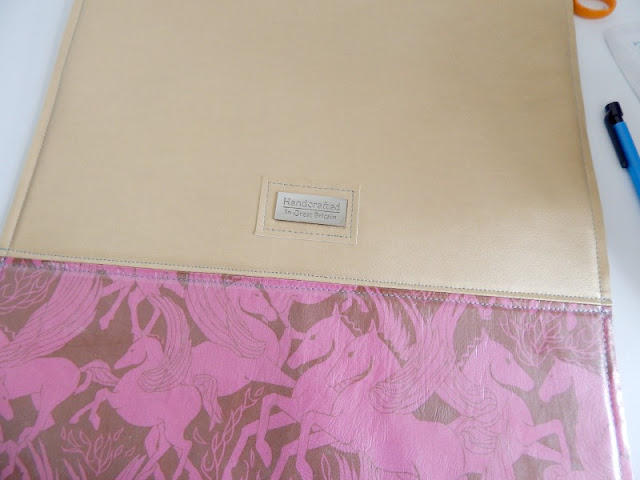
Next I decided that I wanted to pop a “Handcrafted in Great Britain” label from Emmaline bags on, so I sewed the label backing onto the centre of the tote, just up from the seam. I didn’t backstitch, but instead, left my threads long, pulled them to the back and tied them off for a neat finish.
Then using the washer for the label, you can mark the placement of the prongs, cut two slits, and push it through from the right side.
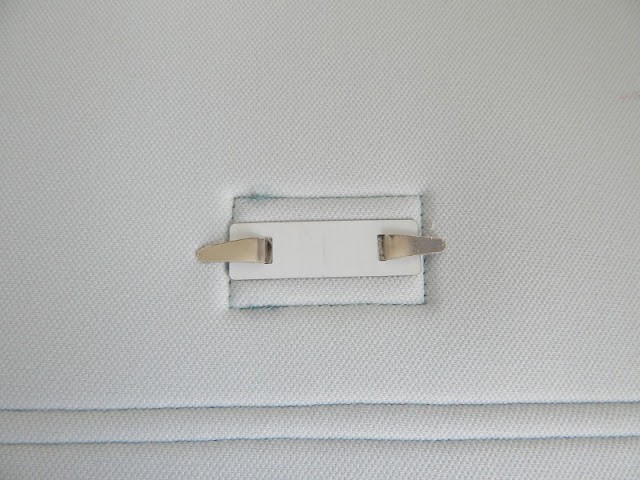
On the wrong side I added the washer and bent the prongs outwards. You can glue a scrap of headliner over this if you’d like, to protect your lining and bag contents from the prongs.
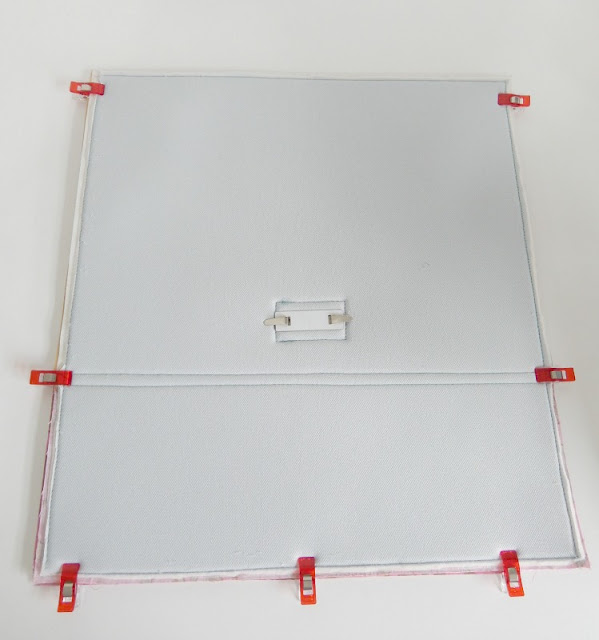
Now it’s time to sew the outer panels together, so trim off any excess headliner from around the edges, right up to the basting line, I find applique scissors are really handy for this! Then clip the panels together at the sides and bottom, and sew around the three sides with a 3/8″ seam allowance.
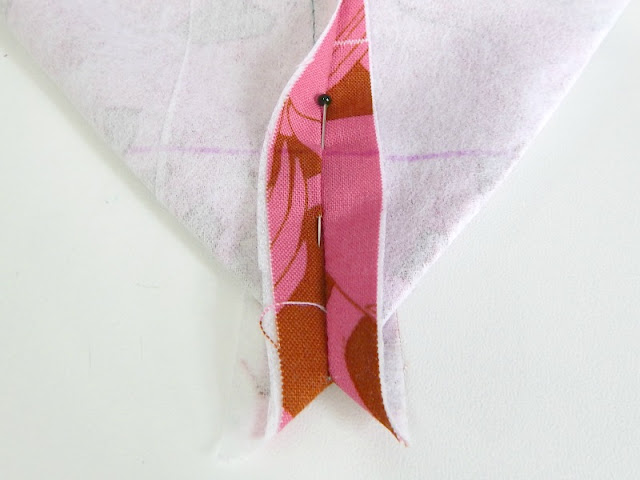
Matching side and bottom seam, flatten out the corner, to form a triangle like below. This is how we’ll ‘box’ our corners. Pop a pin through the seams, and then using a ruler, draw a line 3″ wide, across the point of the corner.
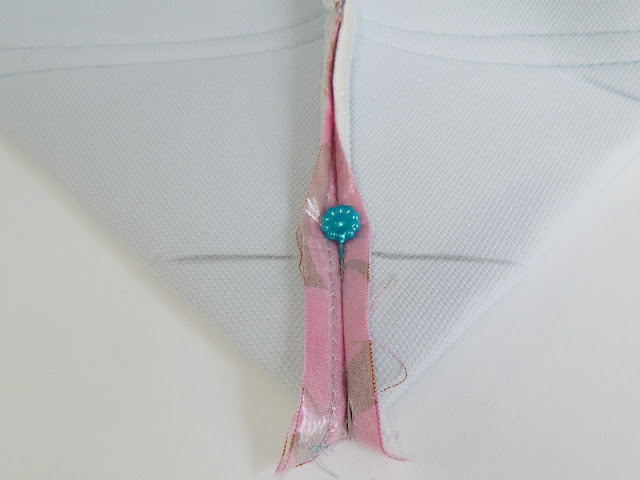
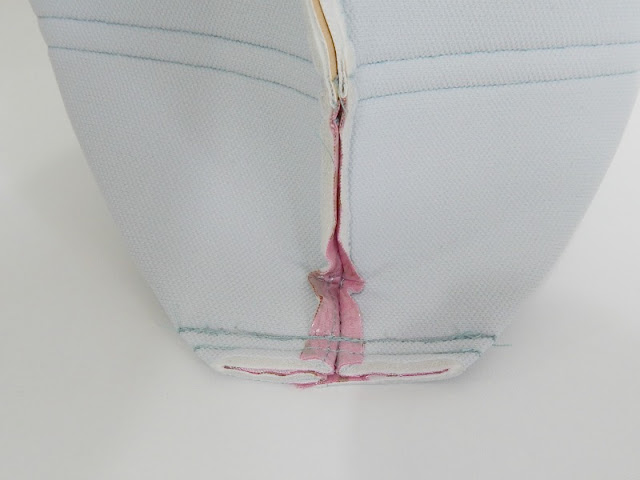
Sew along the line, then again 1/4″ to the right of the line. Then trim the excess fabric away from the point. Do this for both corners, then turn the bag right sides out.
Now it’s time to sew the handles!
Fold each handle in half lengthwise and press to create a centre crease. Open them up again and fold each long raw edge into the centre to meet that centre crease and press into place.
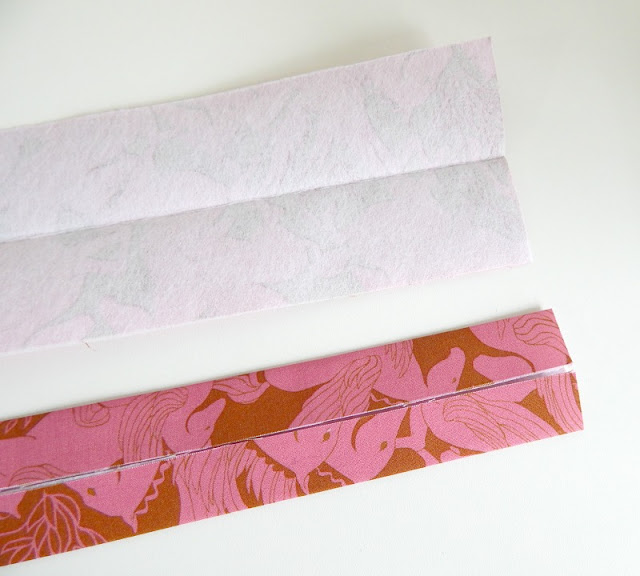
Fold each handle in half lengthwise along the centre crease, and then stitch along each long edge 1/8″ away from the edge. A slightly longer stitch length will help this top stitching look neat.
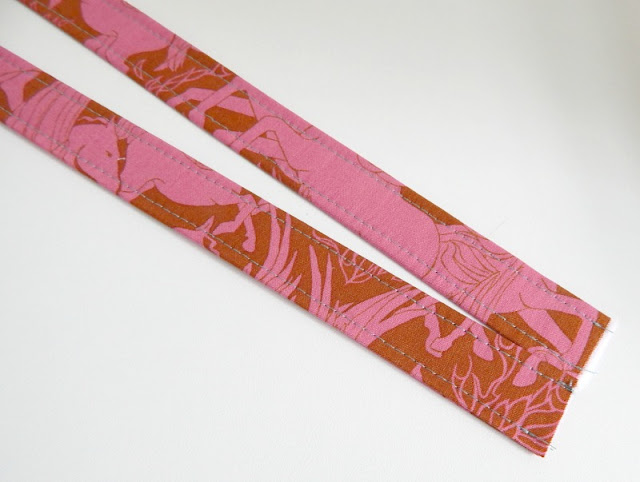
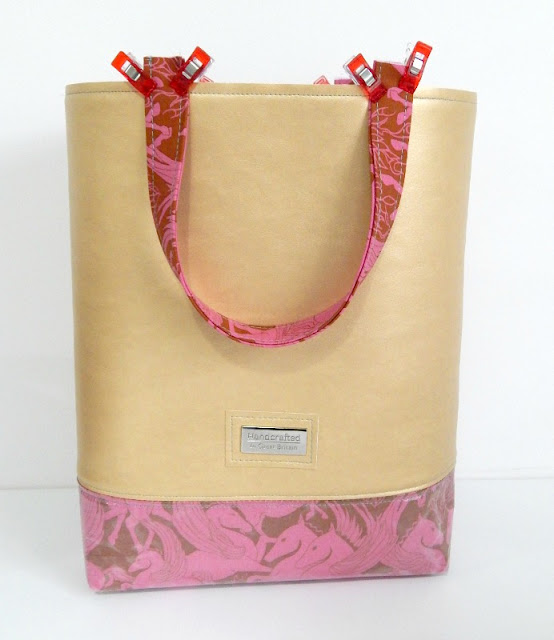
Clip the handles to the top of the outer bag, 2″ from the centre of the bag, so that there is 4″ between each handle. Let the handle ends hang over by 1/2″. Baste these into place with a couple of rows of stitching, within the seam allowance.
To make the lining, we will need to repeat as we did for the outer. So with both lining panels right sides together, pin and stitch along both sides. Where I have marked with a double pin, I’ve backstitched a few times, then sewn along the bottom with a 5mm basting stitch, and then gone back down to my regular 2.5mm stitch, back stitched and carried on along the second side. This is to help get a really neat turning gap when we turn the bag through.
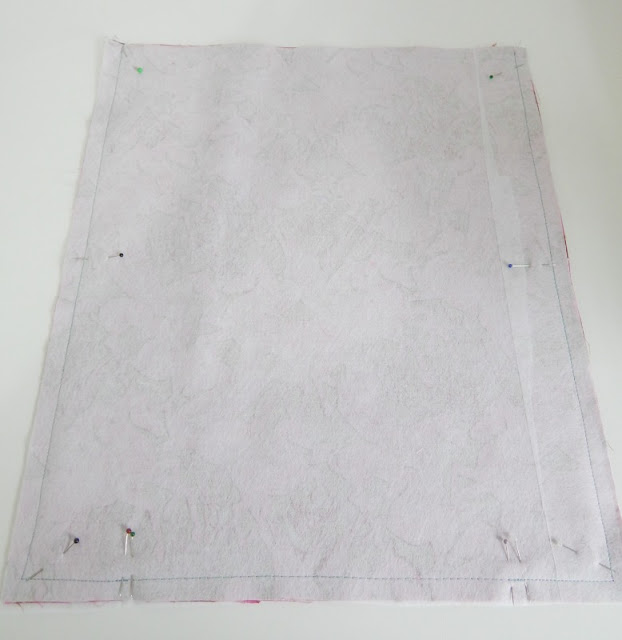
After sewing, press with steam along the bottom basted edge. Then box the corners as for the outer.
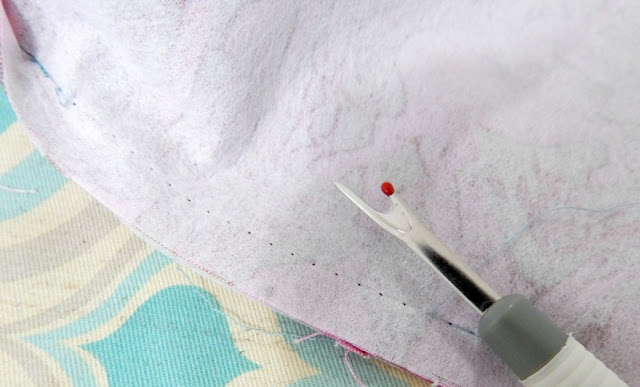
Unpick between the backstitches along the bottom, so you’re only unpicking the basting stitches. You can see these leave behind lovely stitch marks which perforate the cotton. When we turn the bag through at the end, we can fold these edges over really neatly along that line of perforations.
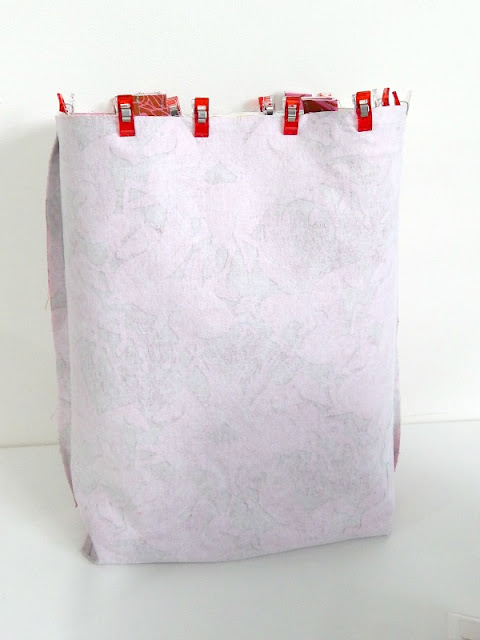
With the bag outer right sides out, and the bag lining right sides in, place the bag outer INSIDE the bag lining, so that right sides are facing. Match the top raw edges and stitch around using a 3/8″ seam allowance. The lining will be longer than the outer, don’t worry 🙂
Turn the bag through the turning gap you previously left, and if you want to give it a little press, now is the time.
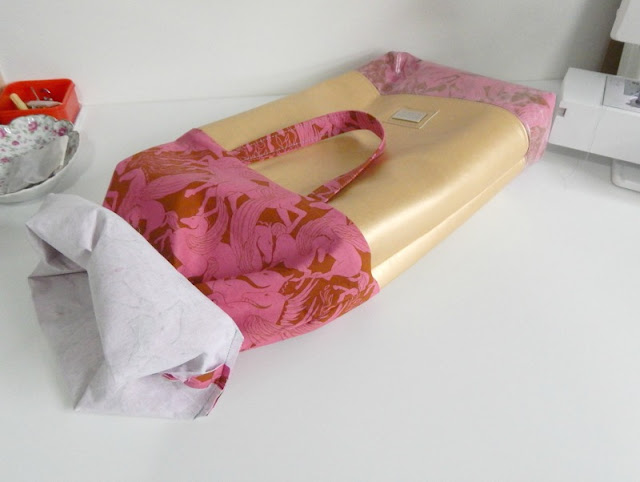
Fold under the seam allowance on the turning gap, and clip into place. Then use a really narrow seam allowance to stitch along the edge of the turning gap. You could hand-stitch this if you’d prefer.
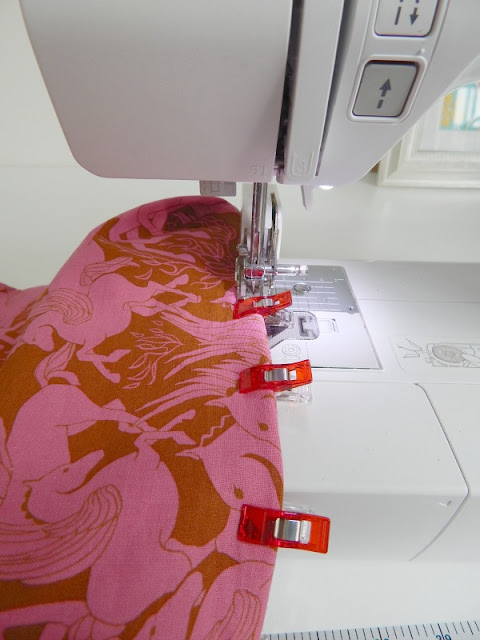
Now tuck the lining into the bag, until the bases touch. This should leave you around 3/4″ of lining over the top of the outer. As long as the lining is smooth inside and reaches the bottom of the bag, you’re set. Clip around the top of the bag.

Then top stitch around the whole top of the bag, inside the lining. I used a wide seam allowance of 1/2″, but you can go narrower if you’d like.

That’s it, your tote is finished and ready for the great outdoors!

Can’t wait to see what you make!
The lovely fabric was sent to me by my friend Alicia from Swoon Patterns. I laminated the bottom portion, with not great success…maybe we need a laminate comparison post…?